To write an invoice, add your business name and contact details, the client's name and billing address, a unique invoice number, the invoice date and payment due date, line items with quantities and unit prices, the subtotal, taxes, and total due, your payment terms, and your accepted payment methods. Then download it as a PDF and send it to your client.
An invoice is a document requesting payment for goods or services. A well-written one specifies what you delivered, the amount owed, the due date, and how to pay, so your client has everything they need to process it and you get paid without a follow-up.
This guide covers what every invoice must include, how to format it correctly, and how to create a professional one in minutes using a free template or generator.
Need to create an invoice?
Add your logo and line items, set tax and currency, and download a clean PDF. Free, no signup, no watermark.
What every invoice must include
A complete, professional invoice has eight required elements. Missing any of them can delay payment or cause the invoice to be returned.
- Your business name, logo, and contact details (address, email, and phone number)
- Client name and billing address
- A unique invoice number (for example, INV-001 or 2026-06-001)
- Invoice date and payment due date
- Line items: each product or service with a description, quantity, unit price, and line total
- Subtotal, any applicable taxes, and the grand total
- Payment terms (for example, "Net 30" or "Due on receipt")
- Accepted payment methods (bank transfer, credit card, PayPal, and so on)
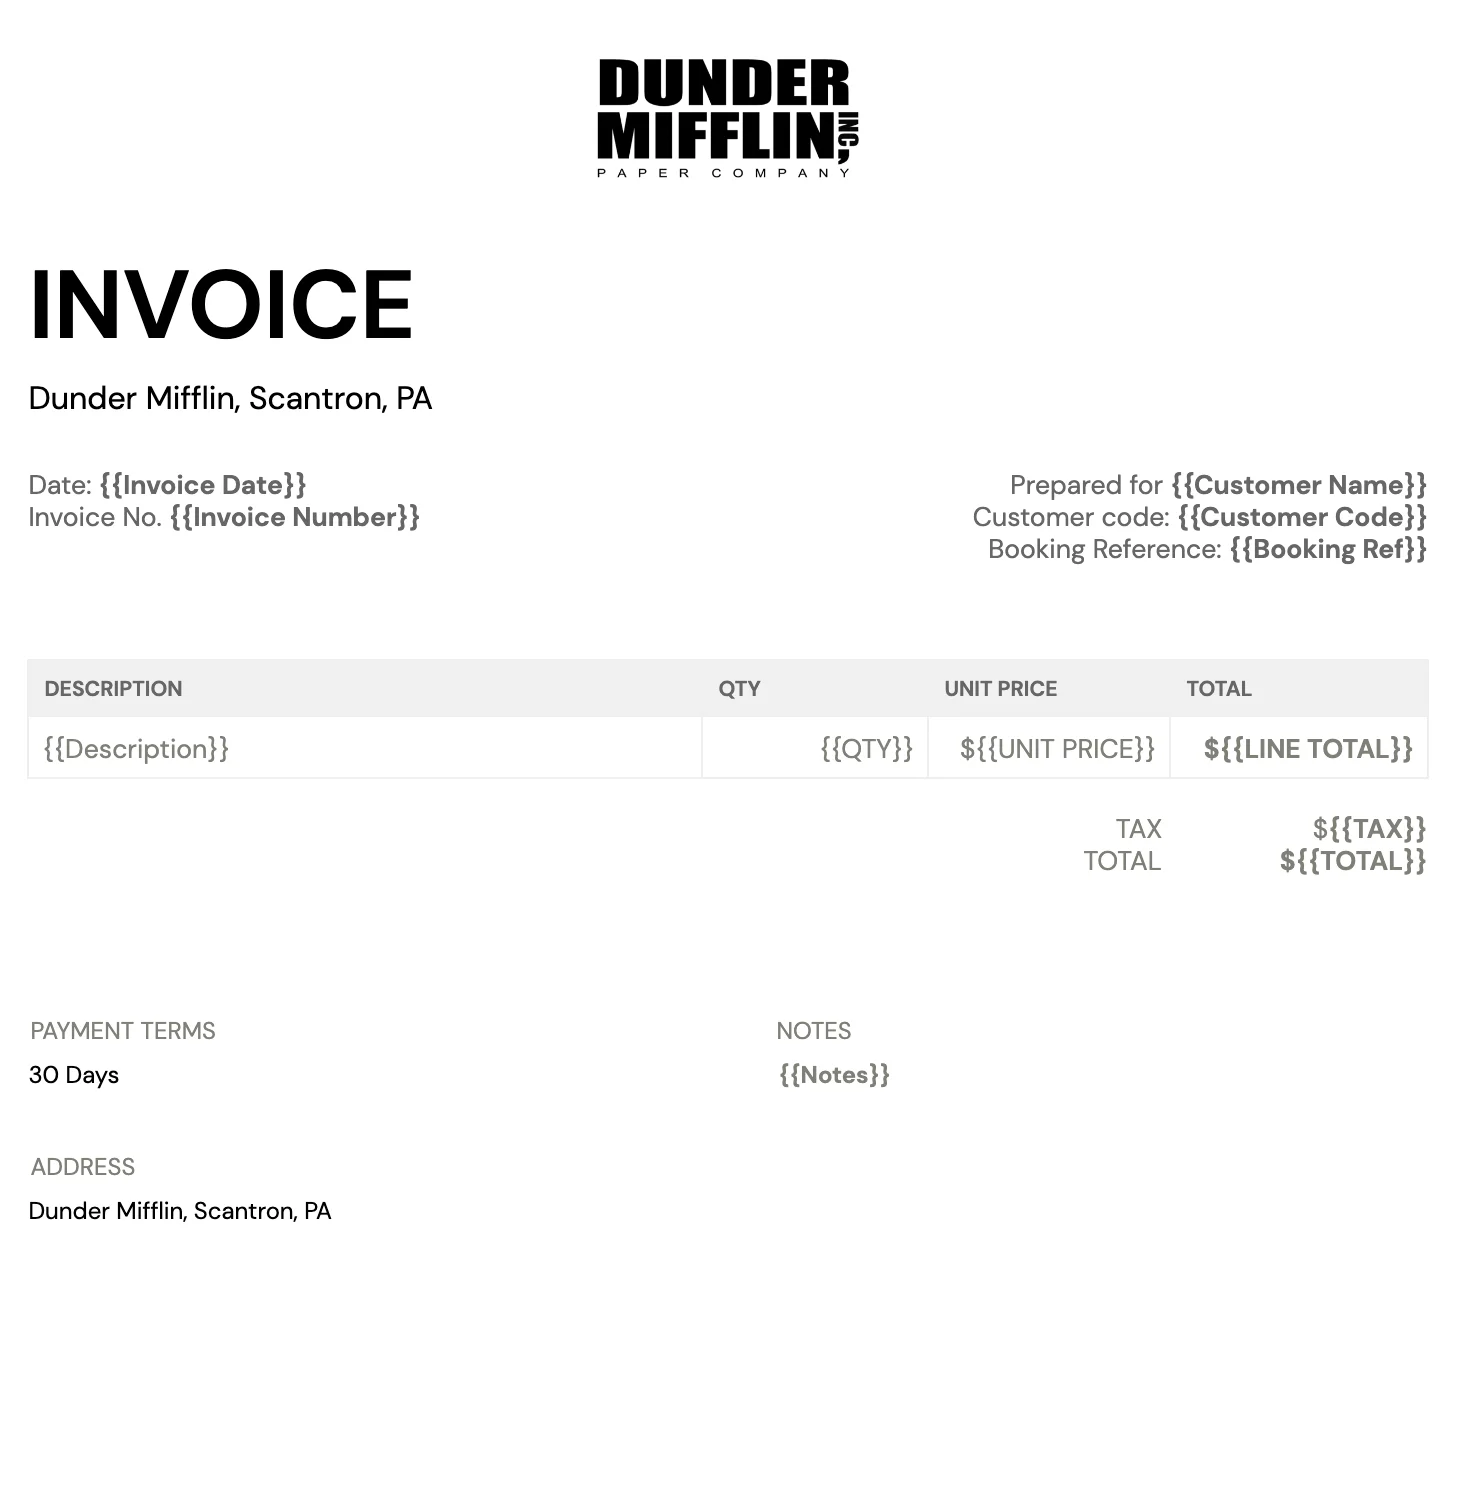
What does an invoice look like
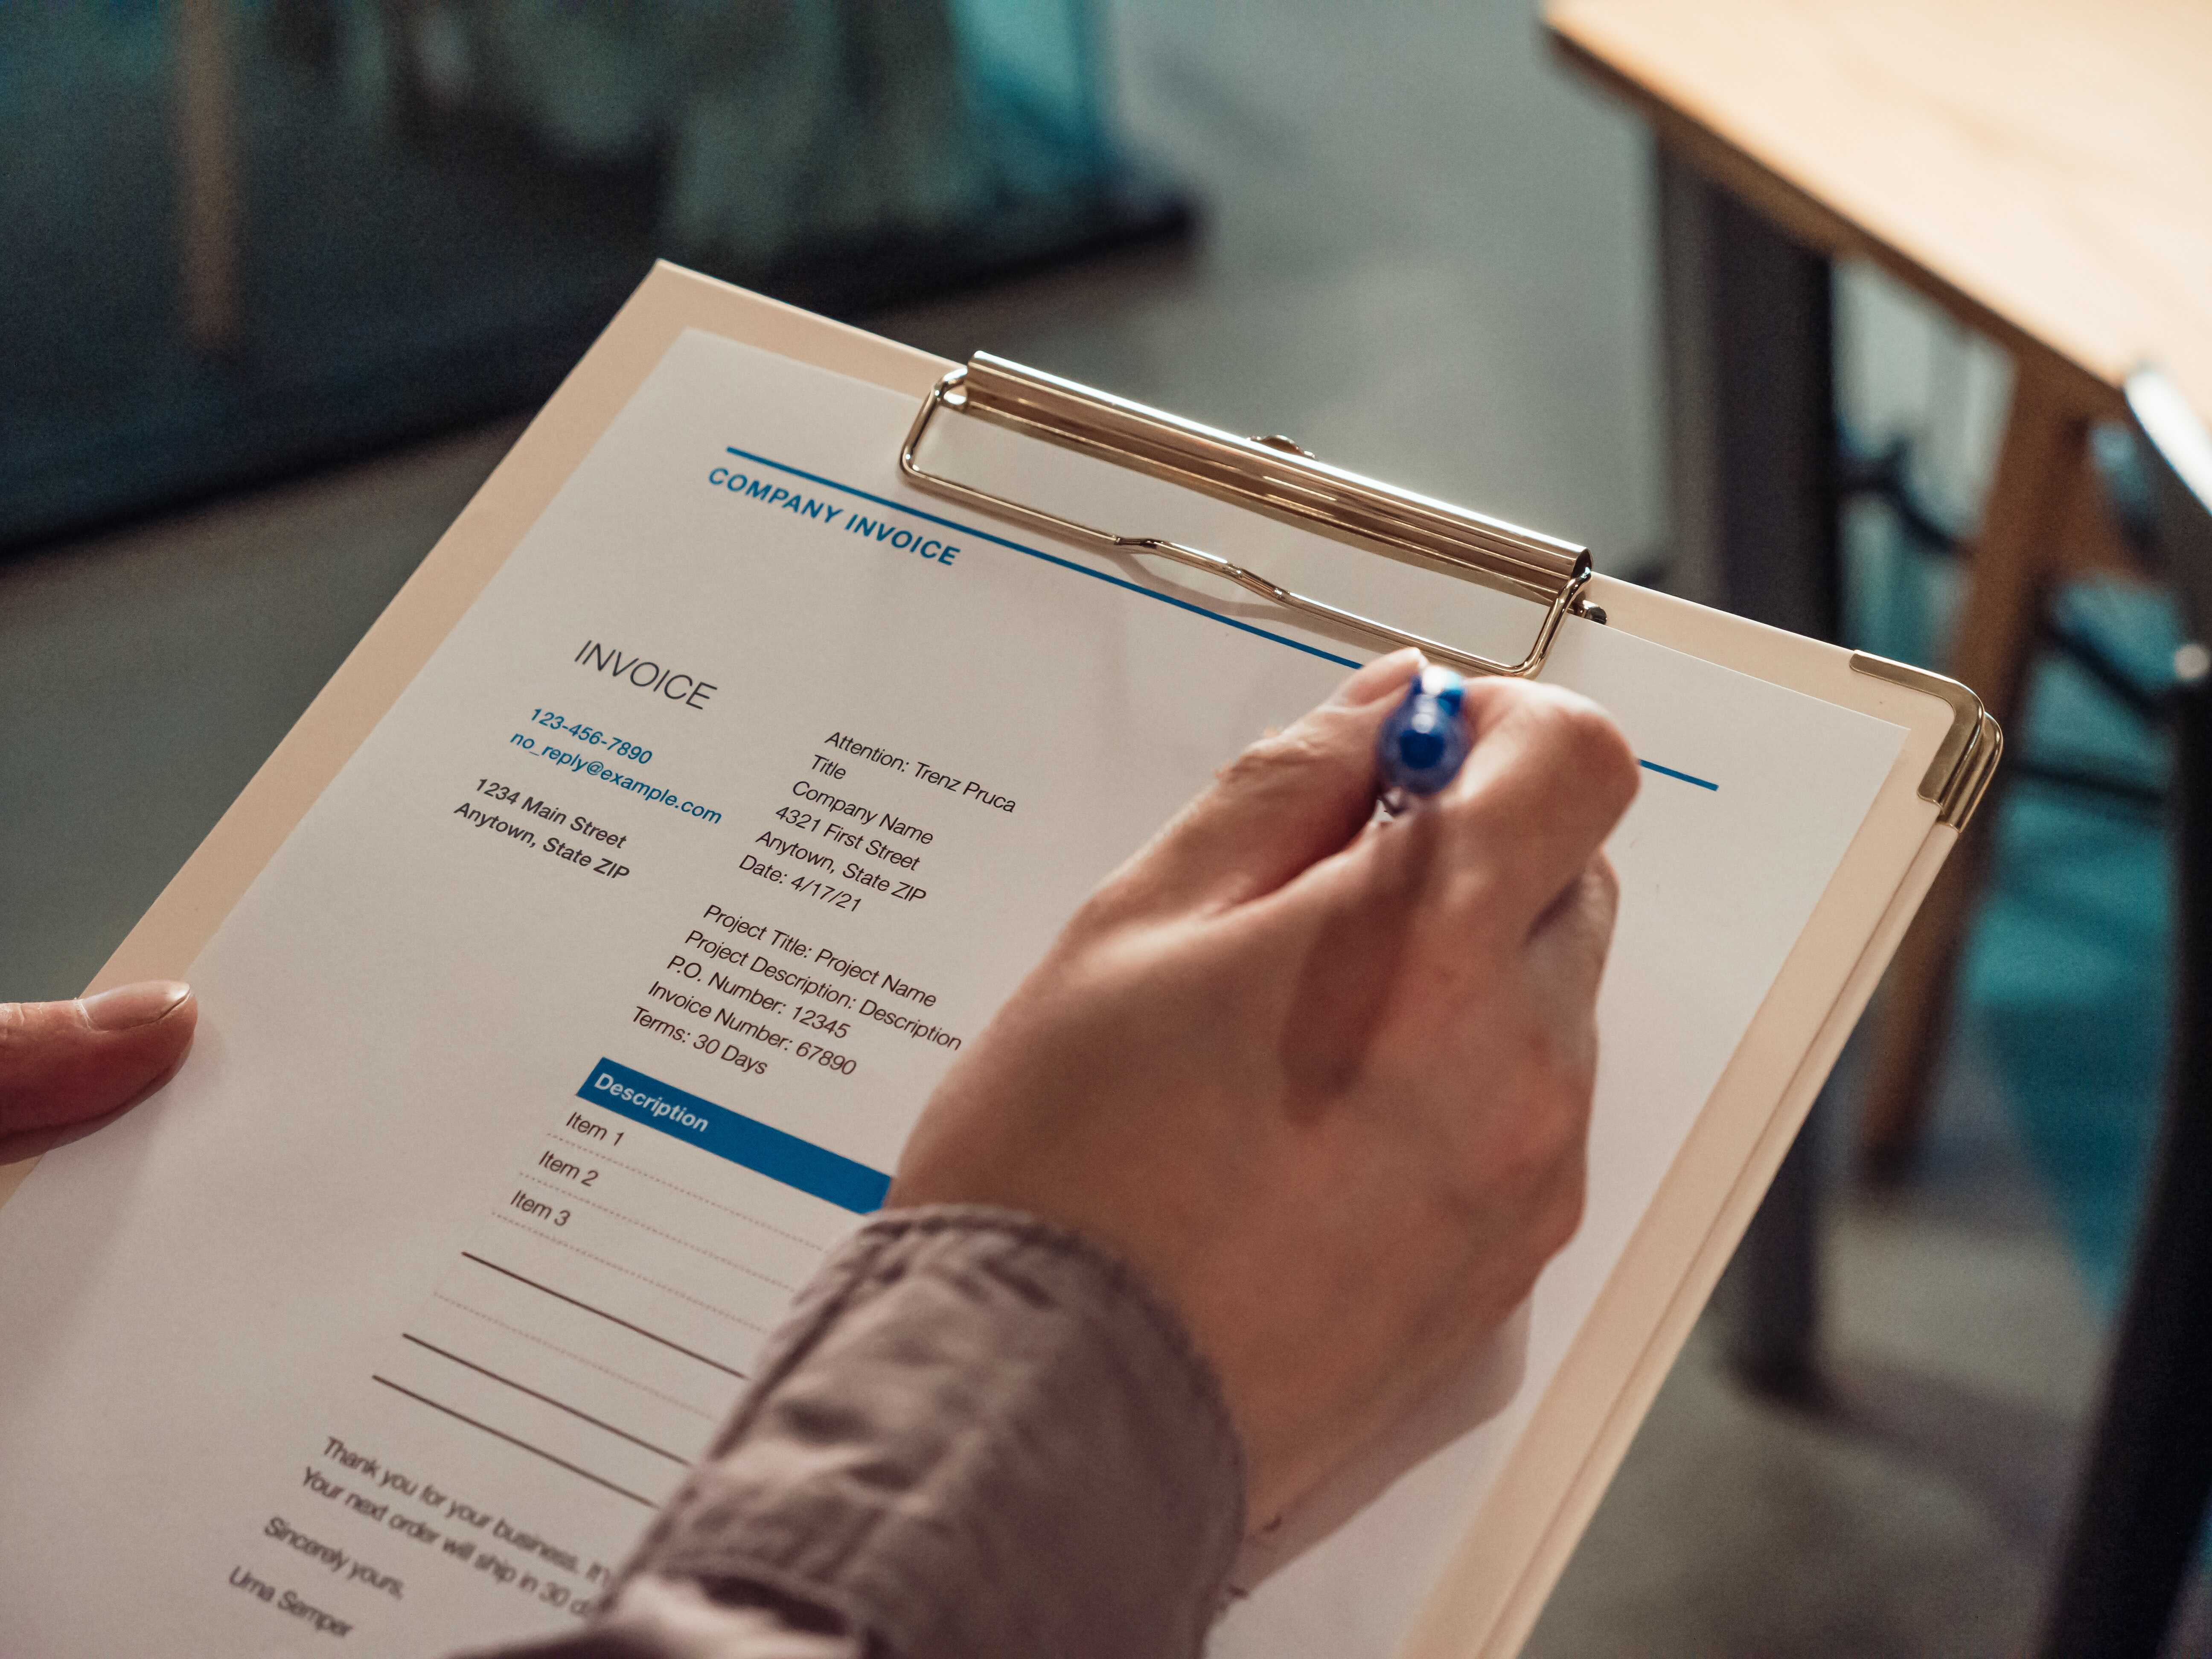
A standard invoice has your logo and business details at the top left. The word "INVOICE" appears prominently at the top, followed by the invoice number and dates. The client's details sit on the right.
The body is a line-item table: each row shows what was delivered, how many, the unit price, and the line total. The subtotal, taxes, and grand total appear below the table, and payment terms go at the bottom.

Get started with free invoice templates
Invoice templates give you a pre-designed layout with all the required fields already labeled. You fill in your details, the client's details, and your line items, and the document handles the math.
Use the free invoice generator to build a professional invoice in your browser and download it as a PDF, no signup required. Or download a free Google Sheets invoice template to follow along as you work through the steps below.
How to make an invoice
The fastest way to make an invoice is to use a free generator that handles the layout and calculation for you. Here are three options, from quickest to most flexible.
1. Use the free invoice generator (no signup)
Open the Portant invoice generator, enter your business name and address, your client's details, and your line items (description, quantity, rate). Set your tax rate and currency, then download as a PDF. The whole process takes about two minutes and requires no account.
2. Copy a ready-made invoice template
If you prefer to own the file, copy a free Google Docs invoice template or download an Excel invoice template. The fields are pre-labeled. Replace the placeholder text with your details and export as a PDF to send to your client.
3. Automate invoices for repeat clients
For regular clients or bulk billing, connect a Google Sheet of client data to a Google Docs invoice template in Portant. Each row becomes a personalized invoice. Portant can email them automatically, so you stop manually filling in the same fields every billing cycle.
8 steps to writing a professional invoice
1. Create a professional header
Your header establishes your brand and tells the client exactly what they are looking at. Place your logo at the top left or center. Put the word "INVOICE" in bold, large text so it stands out immediately from other documents in the client's inbox. Below it, add your invoice number and date.
Use a clean, readable font such as Arial, Verdana, or a similar sans-serif. Stick to one or two colors that match your branding. A consistent, uncluttered design makes your invoice faster to process and reduces the chance of it being overlooked.
2. Add your business and contact details
Your invoice must clearly identify who is issuing it. Include:
- Business logo: top left or center
- Company name: in a slightly larger font, just below or next to the logo
- Business address: your full mailing address
- Contact number and professional email: so the client can reach you with questions
- Business website: optional, but adds credibility
Having your business details on the invoice makes it easy for your client to get in touch and confirms the invoice is coming from a legitimate source.
3. Add your client's information
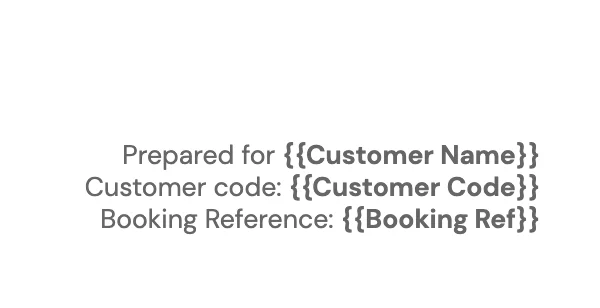
Include your client's company name, the contact person's name, their billing address, and their email or phone number. If your client is a larger business, also add their purchase order number or client reference code so their accounts-payable team can match the invoice to their records quickly.
Correct client details reduce delays. An invoice sent to the wrong contact or with a misspelled company name can sit unprocessed for weeks.
4. List your goods or services
The line-item section is the heart of the invoice. For each item:
- Write a clear, specific description (not just "services rendered")
- Enter the quantity or hours
- Enter the unit price or hourly rate
- Calculate the line total (quantity multiplied by unit price)
Being specific helps the client understand exactly what they are paying for and reduces the number of queries before payment.
5. Set your payment terms
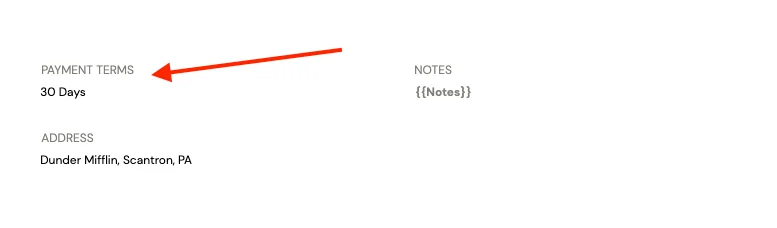
Payment terms specify when you expect to be paid and what happens if the invoice is late. Common terms include:
- Net 30: payment due within 30 days of the invoice date
- Net 15: payment due within 15 days
- Due on receipt: payment expected immediately
- 2/10 Net 30: 2% discount if paid within 10 days, otherwise Net 30
According to research by Freshbooks, more than 92% of paid invoices included the term "interest" on the invoice, meaning a late-payment penalty clause significantly improves collection rates. If you charge late fees, state the percentage and when they apply.
6. Specify accepted payment methods
Tell your client exactly how you want to be paid. Include your bank account details for transfers, or add a payment link if you accept online payments. The fewer steps between receiving the invoice and completing payment, the faster you get paid.
Common options: bank transfer (include account name, account number, and routing or sort code), credit or debit card via a payment link, PayPal or Stripe, or a check made payable to your business name.
7. Show the subtotal, taxes, and total
Below the line-item table, clearly break down:
- Subtotal: the sum of all line totals before tax
- Tax: the applicable rate and the tax amount (for example, 10% GST = $50.00)
- Discounts: if applicable, applied before tax
- Grand total: the final amount the client owes
Never leave the client to calculate the total themselves. Ambiguity leads to disputes and delayed payments.
8. Add your invoice number and dates
Invoice number
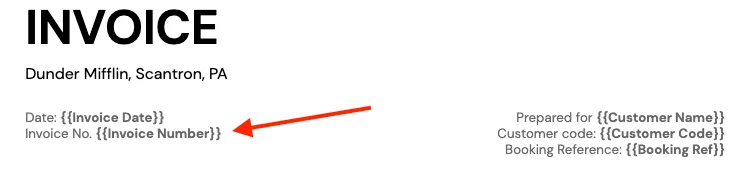
An invoice number is a unique identifier you assign to each invoice. Use a simple sequence (INV-001, INV-002) or a date-based format (2026-06-001). It helps both you and your client track payments, reference the invoice in follow-up emails, and reconcile accounts.
Never reuse an invoice number. A duplicate number creates confusion in your records and in your client's accounting system.
Invoice date and due date
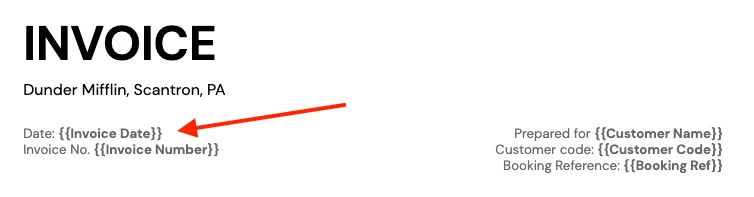
The invoice date is when you issued the invoice. The due date is when payment is expected, calculated from your payment terms (for example, invoice date plus 30 days for Net 30). Both dates belong at the top of the invoice, near the invoice number, so the client can see the timeline at a glance.
Including both dates also gives you a clear record when following up on unpaid invoices: you can reference the original issue date and show exactly how many days overdue the payment is.
Top practices for invoicing
A few habits separate invoices that get paid on time from those that get chased for weeks:
- Proofread before sending: Check the invoice for errors in the client name, amounts, invoice number, and bank details before you hit send. A wrong total or missing payment reference can delay payment by days.
- Set up automatic payment reminders: These help ensure that invoices are paid on time and save you from following up on unpaid invoices manually.
- Offer discounts for early payment: Consider a small discount (for example, 2% off if paid within 10 days) as an incentive for clients to pay promptly. This can improve cash flow and reduce collection effort.
- Use templates to streamline your workflow: An invoice template saves time and ensures the invoice always includes all the required information in a consistent format.
Automate your invoicing process with Portant
Automating your invoicing with Portant is a practical way to streamline billing for repeat clients. Portant is a document automation tool that lets you create, send, and track invoices in one place.
With Portant, you can quickly generate professional-looking invoices and create recurring invoices for repeat clients without entering the same information again. To get started, create an account and add your business information: your business name, contact details, and any logos or branding you want on your invoices.
Once your account is set up, use the invoice generator to create your first invoice. Enter your client's information and the goods or services provided, and Portant generates a professional invoice for you. Here is a short video showing how it works:
Portant works with Google Sheets and Docs. Store your client data in Google Sheets, format the invoice in Google Docs, and Portant fills each row into a personalized invoice and emails it automatically. That means no manual data entry for recurring clients and no chasing down unpaid invoices by hand.
Frequently asked questions
What should be included on an invoice?
Every invoice needs: your business name and contact details, the client's name and address, a unique invoice number, the invoice date and payment due date, a line-item list of services or products with quantities and prices, the total amount due, and your preferred payment method. See the 8 steps above for the complete breakdown.
How do you write an invoice for services?
List each service you provided with a short description, the number of hours or units, your rate, and the line total. Include your business details, the client's details, an invoice number, the invoice date, the due date, and how you want to be paid. If tax applies, add it as a separate line below the subtotal. See our freelance invoicing guide for more on billing rates and payment terms for independent contractors.
What is the correct format for an invoice?
The standard layout puts your logo and business details at the top left, the client's details at the top right, and a line-item table in the body showing description, quantity, unit price, and total. Below the table, show the subtotal, any taxes, and the grand total. Payment terms and your payment details go at the bottom.
Can an invoice be handwritten?
Yes, as long as it includes all the required fields and is legible. A digital invoice is preferable: it looks more professional, is easier for your client to process, and creates a searchable record for you.
What is an invoice number?
An invoice number is a unique identifier you assign to each invoice. It helps both you and your client track payments and reference the invoice in correspondence. Most small businesses use a simple sequence (INV-001, INV-002) or a date-based format (2026-06-001).
What are standard payment terms on an invoice?
The most common payment terms are Net 30 (payment due within 30 days of the invoice date), Net 15 (due within 15 days), and "Due on receipt" (payment expected immediately). Some businesses use 2/10 Net 30, which offers a 2% discount if paid within 10 days. Choose terms that match your cash-flow needs and your client's payment cycle.
How do I assign invoice numbers?
Use a sequential number starting from INV-001, or a date-based format such as 2026-06-001 (the first invoice issued in June 2026). Never reuse a number. If you void an invoice, keep the number in your records marked as void and move to the next number in the sequence.